Subscribe to Dr. John Brockway’s YouTube Channel
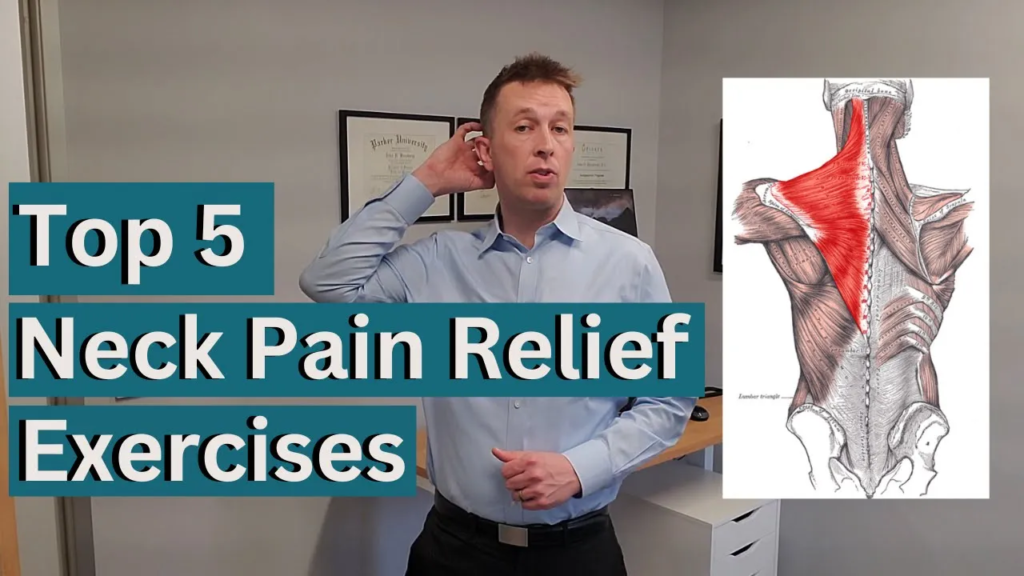
Denver, CO – In this video you will learn 5 great neck pain relief exercises that can be done at home or at the office for computer users. Whether you work on a laptop or free standing computer neck pain can be very frustrating. When you need quick neck pain relief, these neck pain relief exercises may help. Neck pain relief exercises at home are easy to perform. The best neck pain exercises are often isometric exercises. Neck pain exercises can help sore neck and other symptoms as well. When you’re looking for neck pain relief near me, you can start with these exercises and stretches. These neck pain relief recommendations are natural, and may help provide relief from nerve pain in the neck as well. Feel free to share these neck pain relief tips with others.
If you’re at the computer, at work or at home and you experience neck pain firsthand just how frustrating this can be, the pain may even travel into your upper back, into your arm, even into your hands, and that pain not only affects how we feel, but it can also affect how we function as well. This can result in decreased productivity at work and it can adversely affect our relationships with friends and family. In this video, I’m going to give you my top five neck pain relief exercises for computer users. Feel free to follow along, and I hope you find these helpful.
Hi, I’m Dr. John Brockway. I’m a chiropractor in Denver, Colorado, and we see a lot of patients in our practice with varying symptoms from neck pain, headaches, lower back pain, disc bulges, and even extremity issues like carpal tunnel and trigger finger just to name a few. Basically, if it hurts, we can help, and what this channel is about is helping you to stretch, strengthen, and stabilize your body so you can get out of pain and get back to life again.
Now, let’s go talk about neck pain from computer use and we can talk about those neck pain relief exercises that you can do from work, from home, or pretty much anywhere. Now, one of the reasons that you can experience neck pain while working on a computer comes down to poor posture, habits that are associated with computer use. For instance, working from a laptop, it’s extremely difficult to maintain good posture throughout the day. This is why it’s so critical to have a good ergonomic setup, especially when you’re working with a laptop. The other reason it comes down to simply fatigue. It’s really difficult to maintain perfect posture throughout the day or working on a laptop or on a computer.
So doing exercises to improve your posture that is stretching overly tightened muscles and strengthening the other muscles can not only help to improve your posture, but help with the neck pain as well. This is in addition to other physical medicines such as chiropractic care and physical therapy. Now, in this video I’m going to give you five great exercises that you can do to help provide neck pain relief. Please keep in mind that there could be other things going on in addition to just neck pain. There could be complicating factors including stuff like arthritis, degeneration, things that really should be evaluated by a physical medicine provider such as a chiropractor or physical therapist. So let’s get into some of those exercises right now. Now, before I begin, the secret sauce to doing these exercises is to do them slowly in general. The slower, the better. Please keep that in mind as we do these exercises. Okay, so the first neck pain relief exercise is the flexion and extension. I’m going to show you what that looks like here. Just a reminder, we’re going to do this slowly. We’re going to tuck our chin down. We’re going to go slow on the way down at the end range of motion. We’re going to hold this for three to five seconds, and then we’re going to return up slowly and look up towards the ceiling and hold that in range of motion for about three to five seconds. Turn back to where we started. You can repeat that three to five times.
The next exercise is side bending, so we’re going to take our ear to our shoulder very slowly and hold that in range of position for three to five seconds. Slowly return back to where we started and go to the other side and hold for three to five seconds, return back to where we started, and you can repeat that up to three times.
Okay, so after this we’re going to do neck rotations. We’re going to slowly turn our head to one side and hold this position for three to five seconds. Slowly return and look over the other side. Hold that in position for three to five seconds and slowly return.
Okay, the fourth exercise is the shoulder shrug. So we’re going to take our shoulders at the same time and raise ’em up towards our ears and hold and relax. And again, we’re going to do this slowly. We’re going to raise and hold for three to five seconds and relax. Raise them up and relax. Now, the reason why this particular exercise is so good for neck pain relief is that the muscles that attach to our back also go into the base of our skull, and when we’re on the computer for an extended amount of time, those muscles can get really stretched out. So we want to focus on really exercising those muscles.
So these next set of exercises are slightly more advanced, but they’re going to build on the foundational three exercises that we just learned, including the flexion extension, the lateral bending, and the rotation. The difference is we’re going to start to introduce resistance, and we’re going to do this in the form of utilizing our hands one hand or two hands. Now, I love utilizing your hands for resistance because you can vary just how much intensity that you have during the exercise. If you don’t have your hands available or they’re otherwise out of commission, feel free to just utilize a pillow. Okay, so here’s what that looks like.
Neck flexion with resistance, and a quick heads up, if you’ve never done this before or this is maybe something you haven’t done in a while, I highly suggest using less pressure or less resistance. So again, I’m going to show you the neck flexion without resistance first, I’m going to come down and come back up this time with resistance. I’m going to apply both palms to my forehead for resistance. I’m going to hold at the end for one to three seconds and come back up and down and back up down and back up.
Now, quick sidebar, if you do this exercise like that where you can see motion in the muscles, that’s considered an isotonic contraction. That simply means, again, you’re doing the exercise, but you can physically see those muscles moving if you’re applying more resistance and there’s no perceivable muscle movement. It’s called an isometric contraction or simply more resistance. Okay, so building on the neck extension exercise, we now have neck extension with resistance, and I need you to really pay attention here because there’s two separate exercises. They look very similar, but they work a very different set of muscles. So I’m going to show those to you.
Now. The first one really comes down to hand placements. We’re going to take our hands, we’re going to class them together. I’m going to put them directly behind your head, and we’re going to translate our head backwards. Now, what this looks like, I’m going to do it with one hand so you can see it.
My head is actually going this direction. It’s not actually tipping up and back. It’s coming straight back into my hands. Again, we’re going to hold this for one to three seconds and relax one to three seconds and relax one to three seconds and relax. Now, this is going to work the lower muscles into the neck. The next exercise is really going to build on that extension exercise that we learned earlier. Lemme show that to you just now. Hand placement is critical for this. It’s going to be slightly lower than the skull, so I’m going to show you here. And the resistance is mostly going to come in this upward motion, so I don’t want the resistance to be pushing this way. It’s going to be coming up and you’ll feel it. So here’s what this looks like. I’m going to tip our head up and look up towards the ceiling and hold for one to three seconds.
Again, I’ll show you with one hand so you can see a little bit easier up and hold one to three seconds up and hold one to three seconds, and you’ll feel that really into this lower portion of the skull. Right into here. Those muscles are the ones that should be engaging during this exercise. Here’s what it looks like doing the lateral neck bending with resistance. The key to this is proper hand placement. I suggest utilizing the palm of your hand and not placing it on your jaw. This is in order to avoid TMJ issues, rather, we’re going to place it just in front of our temple bone right here.
Here’s what that looks like. Take it to the side and hold and relax. Take it to the side and hold and relax. Take it to the side one to three seconds and hold and relax. We’ll do that on both sides up to three times. Okay, so the last exercise with resistance is rotation, and the key to this is proper hand placement. I like utilizing the palm of our hand here and rather than going on our jaw, we’re going to put it right up here and then we’re going to rotate, and this is in order to avoid any sort of jaw or T M J issues. Again, we’re going to turn into it and hold for one to three seconds and relax, turn and hold and relax. Okay, so here’s a summary of everything we’ve learned so far. We have flexion and extension, rotation, side bending, and the shrugs, and we have the more advanced versions in the form of those basic foundational movements. But applying resistance in the form of one hand, two hands, or simply utilizing a pillow with varying resistance and varying intensity based on your comfort level. I hope you liked the video. Please leave any comments below if you have any questions about anything we covered in this video or if there are additional conditions that you would like me to cover in future videos. Also be sure to check out our video here on neck pain exercises and positions to avoid.

